Pharr RVs
Established in 1969, Pharr RVs offers the largest selection of RVs in Lubbock, Texas. Pharr RVs is Locally Family Owned and Operated for 52 years!
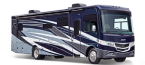
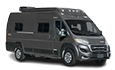
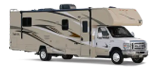
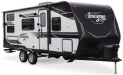
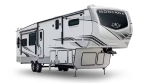
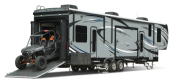
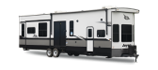
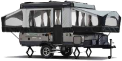
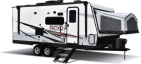
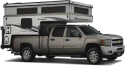
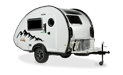
Shop By Type

Find Pharr RVs
Let us help you find the RV of your dreams. Pharr RVs carries a variety of new and pre-owned RVs. From Motorhomes (Gas and Diesel), Fifth Wheels, Travel Trailers, and Toy Haulers – Pharr RVs has an RV for you. Representing some of the top RV manufacturers in the industry: Jayco, Grand Design, Entegra Coach, and Coachmen. Come visit today! We carry affordable quality RV's.
Blue Compass RV Lubbock, formerly known as Pharr RVs is the best RV dealership in Lubbock, TX.
RV Parts & Service
Pharr RVs is proud to feature a State-Of-The-Art RV service facility with knowledgeable RV technicians and a friendly, helpful staff. If you want the best quality service and repair for your RV, call us or schedule an appointment and we'll make certain that we can be of service to you!
Our friendly experts and technicians will make sure your RV is ready to pass any inspection and regulation test. Just schedule your inspection today, we'll take care of the rest.
About Pharr RVs
If you’re looking for an outstanding deal on fantastic new or used RVs for sale in Lubbock, TX, you have come to the right place here at Pharr RV! Our trained and experienced team is here to help find the absolute best RV for your vacation needs at a price that fits perfectly into your budget. We are here to make the RV buying experience as enjoyable and easy as possible. We have an awesome inventory of new and used RVs for sale that is refreshing and updating daily. Come in today and let us earn your business and help start your RVing lifestyle right! Contact us today for more information!